This website is established by R Blogdown. So the first article here is to introduce how to build it by R Blogdown.
R and R Studio
Of course you need a R. R Studio IDE is not necessary, as you can use command in R directly.
But I think R Studio can reduce your confusing greatly, especially for those who are not proficient in programming.
Blogdown and HUGO
The second step is installing the package. You can use the following command in R:
install.packages("blogdown")And install HUGO:
blogdown::install_hugo()If error appears, you can use :
install.packages("devtools")
devtools::install_github("rstudio/blogdown")
Github
Sign in Github and download the Github desktop.
Build Web
Creat a new project in your R Studio:

File < New Project < New Directory < Website using blogdown.

You can name you project and set a hugo theme. The default theme is Yihui’s lithium, which is simple and clean. You can select one theme that you like in Hugo Themes. And click on the button:

Then you will see its github home. Get the address after in your browser’s address bar:
 And fill it into the above blank space of New Project Wizard.
Click on the button. Just wait. Then you will success.
Publish to Net
Do you want your website published?
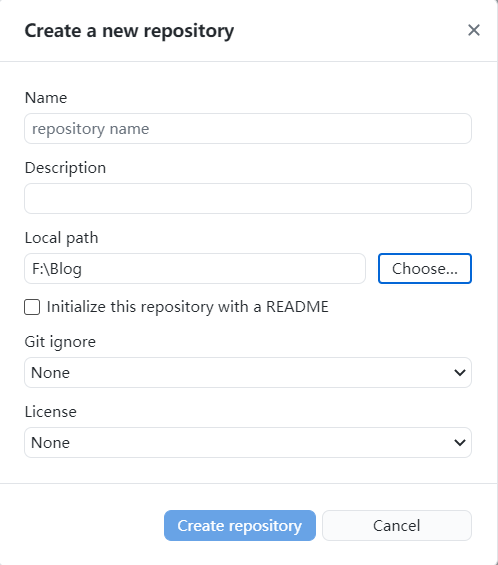
You can open your Github Desktop and add the folder to your github account.
 Click the third button.
 After pushing it, you can set your web!
The last setp is to connecting your github repositories with your netlify
Sites < New site from Git < Github < Deploy site.
You get your personal web!